To add a wait action after your send email action, follow these steps:
- Locate the “Send Email” action in your automation.
- Click the node (the “+” symbol) below that send email step.
- The “Add new action” modal will appear. Click “Conditions and Workflow.”
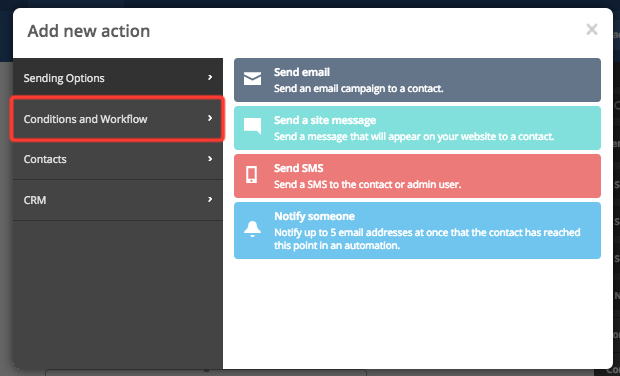
- Click the “Wait” option.

- Choose the type of wait by clicking it. You can either choose “For a specific period of time” or “Until specific conditions are met.” (See the section below for more information.)
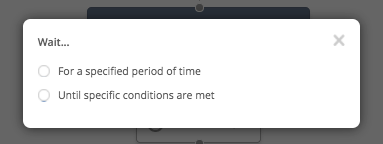
- Follow the prompts to configure the wait action and click “Save.”
Wait for specific period of time
This wait can be thought of as a timer. As soon as a contact encounters this step, the timer starts and the contact will wait in that step until their time is up.
Wait until conditions are met
This wait is condition based—as soon as a contact meets the criteria set in the conditions, they will be released from that wait step and will proceed to the next step in your automation. With this wait step, you can also include a time limit. By including a time limit, you are saying that a contact will wait in that step until they meet the conditions to be released OR until they reach that time limit.